Blox Fruits Solo Boss Practice: Learn One Attack Window Before Chasing a Faster Clear
A solo boss attempt is easier to learn from when it answers a specific question about an attack, position or recovery. Observe a manageable part of the encounter, keep your current limitations visible and improve the decision before trying to shorten the whole fight.
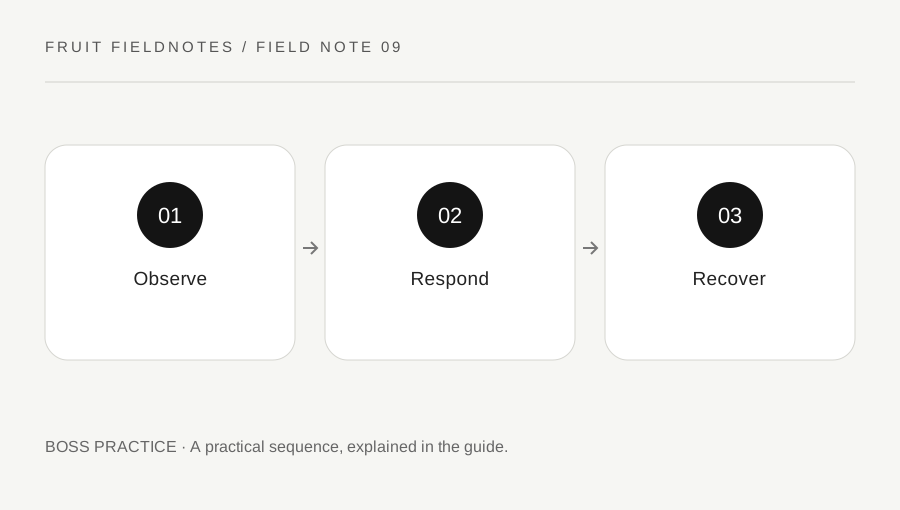
Original explanatory diagram. Examples illustrate a method or decision; they are not claims of personal testing.
Choose an accessible encounter and a question
Blox Fruits officially includes boss battles among its combat activities. Select an encounter your current progression allows and inspect the relevant in-game requirements. Do not assume that a boss from a late-game showcase is an appropriate practice target for your account.
Choose one question, such as where you stand when a visible attack begins or whether you can recover behind terrain after a missed move. Keep it narrow enough to observe during normal play. A goal of "beat everything faster" gives little guidance when the attempt fails.
For example, you may notice that your own long action begins just before the boss attacks. The useful question is whether changing the timing or position gives you a better opportunity. This is a method for observing the current encounter, not a claim about a universal boss pattern, a fixed safe spot or immunity granted by particular terrain.
Separate the cue from your response
Watch the visible and audible cue that precedes the attack you are studying. Note where your character is and what action you are already performing. Then observe the result of your response without immediately attributing it to a hidden rule.
Repeat a comparable situation when it is practical. If you change equipment, stats and position at the same time, you cannot easily tell which difference affected the outcome. Keep the first comparison simple: similar setup, different timing or a different ordinary movement response.
Do not call a position safe after one successful moment. The boss may move, the attack may differ or the terrain may affect the view. A useful note says "this response worked under these observed conditions" rather than promising that a player can stand there indefinitely. Avoid exploiting unintended behavior or using automation to force the encounter into a state outside supported normal play.
Plan the next action after avoiding or taking a hit
A response is not complete when the attack passes. Check where you finish, whether the target remains visible and which moves or resources are available. A successful dodge that leaves you disoriented can still lead to the next avoidable hit.
Suppose you evade an attack but immediately spend every move without realigning the camera. The resulting misses may be a recovery problem rather than evidence that your equipment cannot handle the encounter. Practice reestablishing a useful position before continuing the sequence.
When taking damage, use the actual current health and resource information to decide whether continuing serves the practice goal. Do not treat every attempt as an obligation to finish at any cost. You can stop the experiment, recover through supported play and return with a clearer question. This guide does not promise a particular reward, damage threshold or exact recovery time; those must be checked in the current game and your account state.
Review one cause before comparing clear speed
After the attempt, write a brief sequence: cue observed, response chosen, position afterward and the next action. If the result was unclear, keep that uncertainty in the note. A death or victory by itself does not identify what happened at the moment you were studying.
Once the response becomes reliable, add a second question or examine whether your attack sequence fits the available window. Avoid optimizing total clear time before you can explain the repeated failure that ends attempts early.
Recheck any remembered pattern after an official update relevant to the encounter or your moves. Another player's account, unlocked abilities and control device may also change what is practical. A useful solo practice session can end without a personal-best clear if it produces a reliable response and a better recovery. That understanding makes later attempts more deliberate and provides a foundation for team encounters without merely repeating a preparation checklist intended for a coordinated group.
A practical checklist
Choices are saved in this browser. Reset them here or clear this site’s browser storage.
Questions that come up
Does one successful dodge prove a permanent safe spot?
No. Repeat comparable observations and account for movement, different attacks and changed conditions.
Should clear time be my first practice metric?
Usually a repeated failure or recovery problem is more useful to diagnose before optimizing the entire fight.
Does the guide prescribe fixed boss damage values?
No. Use the current encounter and account state; the method is about observation and decision practice.
References & scope
Background references checked on 18 October 2026. Worked examples and diagrams are original teaching material.